Showing posts with label DIY. Show all posts

Skirt Makeover with Natural Dye & Fabric Paint

turmeric dye
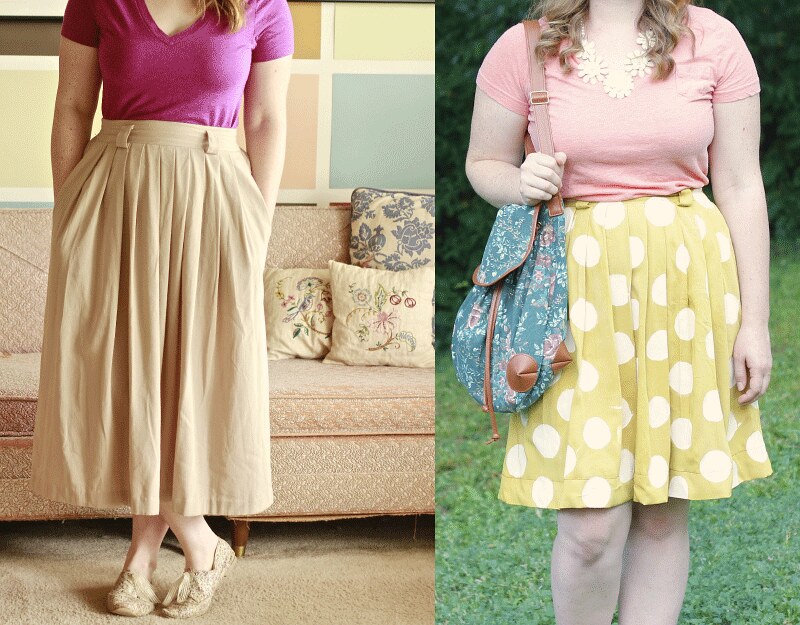
I found this long plain cream skirt at a thrift store a few months ago for a few bucks and snatched it up. Since I finally learned to use a sewing machine, I thought I would just hem it up and then have a nice basic khaki skirt that I could wear a million ways.
Natural Dye
But then I realized that was boooooring! And also when the heck do I ever wear khaki? So I started thinking about how I could refashion my new boring thrift find. I came across this skirt and fell in love with the beautiful golden mustard color + I'm a sucker for polka dots and I just knew I had to have my own.
Natural Dye turmeric
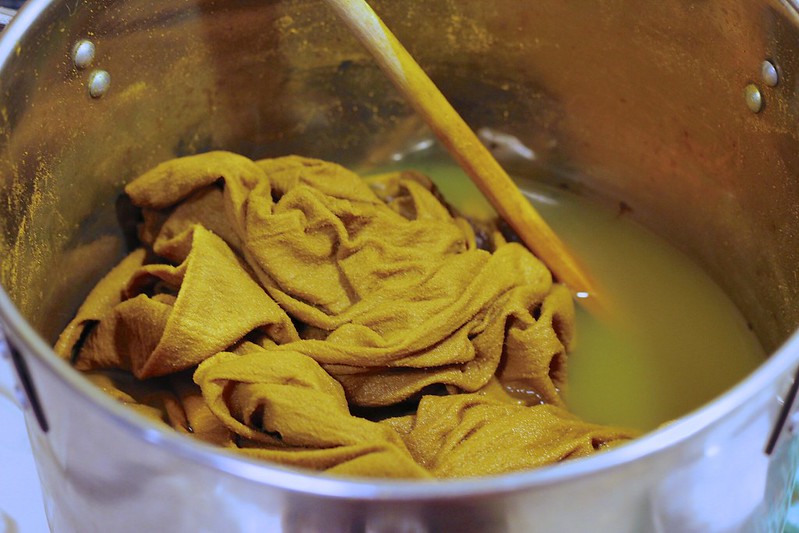
I figured I could get a nice golden color using a natural, homemade dye instead of buying any. I thought turmeric would make a nice dye so I poked around on the internet, found this article for reference, and then dove right in.
Natural Dye skirtdiy polka dot skirt
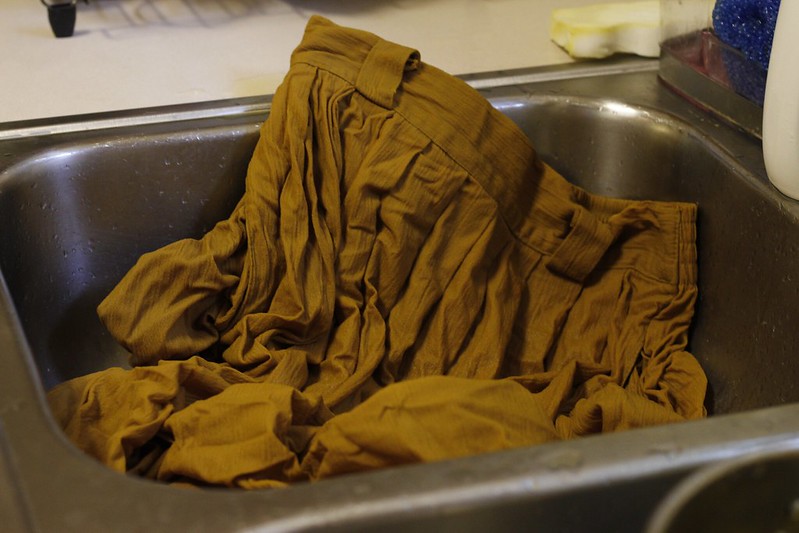
I ended up boiling my skirt in 12 cups water + 3/4 c. salt for one hour. After it cooled, I made a fresh pot with 14 cups water + 1/2 cup turmeric + a splash of vinegar. I brought it to a boil, simmered for 15 minutes, added my still wet skirt, and simmered for 45 minutes— stirring occasionally to get an even dye job. When it was done, I removed it from heat and let it cool before rinsing it out.
diy polka dot skirt
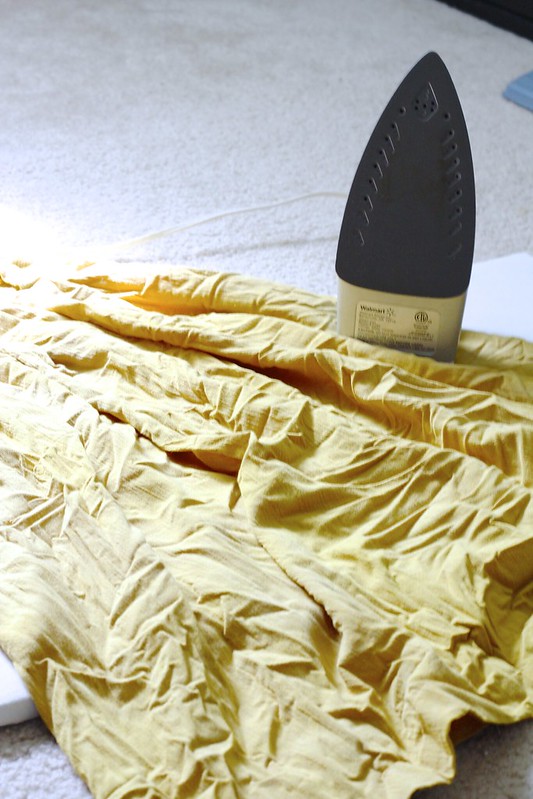
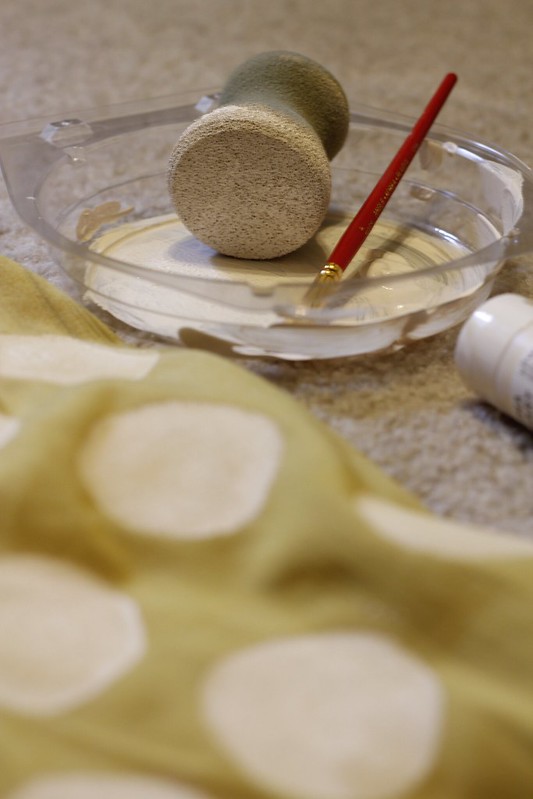
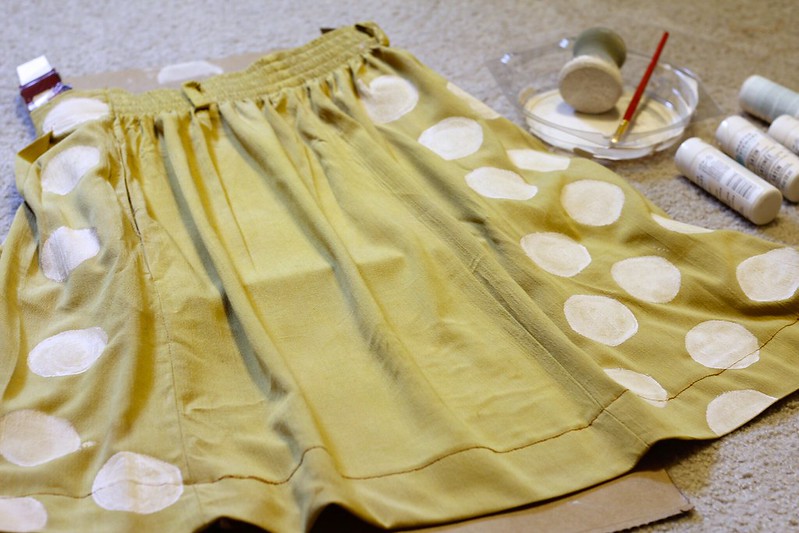
Next, I machine washed it to make sure all the turmeric was rinsed out. Then I ironed it, hemmed it up, and added some oversized polka dots with big round sponge + some fabric paint. I had to go back and fill in the dots with a paint brush to get the coverage I wanted, but I kind of figured that would happen.

diy polka dot skirt
I'm pretty pleased with how this turned out! The fabric paint dried a little stiffer than I thought it would but I also haven't washed the skirt since I added the polka dots so I'm not sure if that will make a difference . . . (And now y'all know that I'm one of those nasty people that wears things one million times before washing it. . . sorry not sorry— I ain't got time for that!)

diy polka dot skirt
Anyway, I ended up learning a lot from this project and now I have a cute new skirt! This is actually what I wore to a Nashville blogger meetup we had awhile back— Nick was kind enough to snap a few photos of me before I headed out for fun.
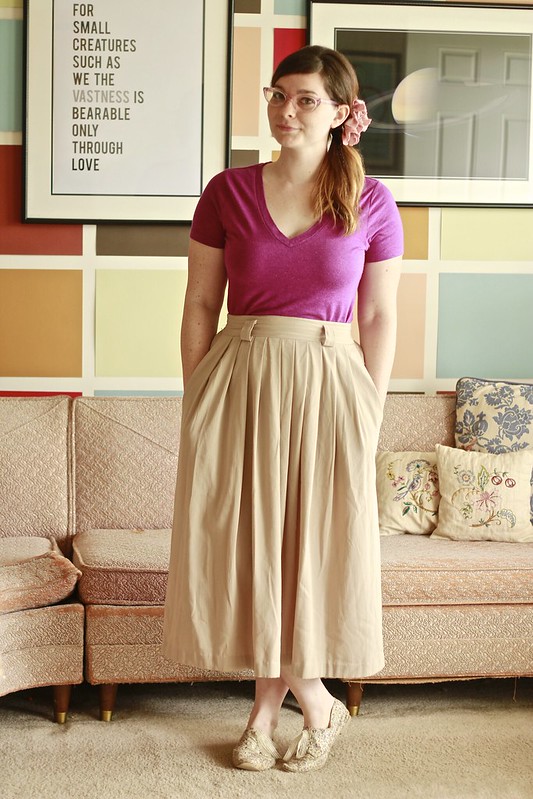

Natural Dye skirt
Have you ever used plant based dyes for anything? I'm really curious to try more in the future— I feel like beets would make a gorgeous color?! I recently went through my closet and now I have a little pile of projects to work on so hopefully I will get my butt in gear and have more refashions to show you soon!

skirt refashion
I hope you all have a great weekend! -jenna

♥ bloglovin // instagram // facebook // twitter // tumblr // rss // email ♥

I Made This: My New Little Baking Nook


I'm so excited to finally share the new baking area that we created in our house recently! We've been trying to make our home more inspiring and this little facelift + reorganization has made such a difference in our daily lives already.


Our tiny kitchen was overflowing with pans, ingredients, and cake decorating supplies and we just couldn't take it any longer. I went through that brown cabinet and got rid of old plates, dishes, and cake decorating supplies I no longer use. It freed up a ton of space and now the cabinet houses some cookbooks and my handmade mug collection (the only collection of something that I own— but that's a post for another day!).


You can kind of see the tower that houses our records in that very first photo— we moved that into the living room (near the record player— duhhh, us!) and scooted the cabinet over to its place. Then we bought a cool stainless steel restaurant table and built some shelves to hang over it. Then I put all my baking ingredients in mason jars and vintage tins to create a homey, handmade feel.


The shelves are just two pieces of wood we painted and attached L-brackets to. We matched the shelf colors to our living room colors to maintain a cohesive feel since our entire living, eating, bike storage, and now baking corner is one open and connected space.


My inspiration for this entire project came from three places. The first was this drool worthy Baking Pantry in a Cabinet that Jenny created. It was love at first sight and I knew I had to have something similar. We couldn't spare the cabinet space in our actual kitchen so I basically gave up on this dream. Then I saw these shelves that Amanda made and that's when I started scheming to have a baking nook of my own.


The final straw was when Amanda of Pickles and Honey posted this incredible list of pantry staples— I just knew I had to create a haven of mason jar goodness for myself. Perhaps one day I'll even have those neat lids she got, too!


We have so much more room and organization with all of these pans, ingredients, tea varieties, and my mixer moved out of the actual kitchen. I remember when I first (illegally) moved into Nick's teeny tiny old campus apartment and dreamed of not only owning a mixer but also having a beautiful space to use it in. That was about three years ago and I'm so incredibly happy that I finally have an inspiring and organized space that's all my own—HALLELUJAH!

(Seriously though this is a complete dream come true for me! The results are in guys: you just have to work really hard and wait three years and then you can have anything you want! I kid, I kid. But I just feel like there is a reason that "before" photos exists. My house wasn't always this pretty, I promise. It took a lot of work and self-reflection about being a messy lazypants to get to this point in my life— but I'm glad I made it! Perhaps all those interior design classes paid off, after all. . . )


measurement print by Greta Songe

I just love looking over and seeing all these jars of ingredients lined up and waiting— and being able to make a grocery list at a glance. I'm still pretty convinced that Nick only helped me do this for the promise of increased sweets in his life . . . Or maybe because lids and pans would come flying at our faces every time we would open a cabinet door . . . Either way, I feel so happy and inspired each time I walk into my house and see this— so mission accomplished! Next we just have to tackle the bedroom. . .


Thanks for letting me gush about this project— I'm not sure I've ever created something so wonderful before! Are you working on any big projects? I'd love to hear about them!

Just a reminder: Google Reader is closing soon but you can Follow on Bloglovin another way to stay updated:

♥ bloglovin // facebook // twitter // tumblr // rss // email ♥

How I Organized My Tights

Hiya guys! I sure do have a bright and colorful post for you today! You know, I would feel like a mega-cheat if I called this a "diy" or a "how-to" because this tights organization is just the easiest thing ever.
I mentioned here that I randomly organized all my tights— I snapped a few pics of it because I thought the rainbow effect was neat (hello, OCD!) but never really planned to share any of them. Then Jen mentioned in the comments that she wanted the lowdown on what I did because (as she so eloquently mentioned) hers are "all tangled together like a bad knitting job."
I used to have all my tights in a drawer. Then a bin. Then hung on one of those tiered hanger things in layers. Nothing seemed to work. Then something clicked.
I realized I've never been able to store things the way other people do. I use a shoe organizer to hold our cleaning supplies in the kitchen. I keep my pencils in an old six-pack carrier. Our coasters are in a cookie jar on the coffee table. My embroidery hoops are in a vintage magazine holder. CREATIVE SOLUTIONS, Y'ALL.
Seriously though, I have realized that you just gotta do whatever works for you. If that means hanging up your socks and tights like a freak and putting shirts in drawers instead, then so be it!
I took all of my tights out and organized them by color (and also by amount of holes in them. . . ). Then I put them in one of those five dollar shoe holders and bingo, bango, bongo! All you need is a door and you are good to go (although technically you could nail this to a wall!).

So there you have it! A little peak into my ways (oh how I'm changing the world!). Do you have any neat storage solutions? I'd love to hear about them! xoxo, jenna

♥ bloglovin // facebook // twitter // tumblr ♥

I Made This: Skirt from A (Really Terrible) Shirt

how to make shirt into skirt
upcycle shirt to skirt
diy shirt to skirt
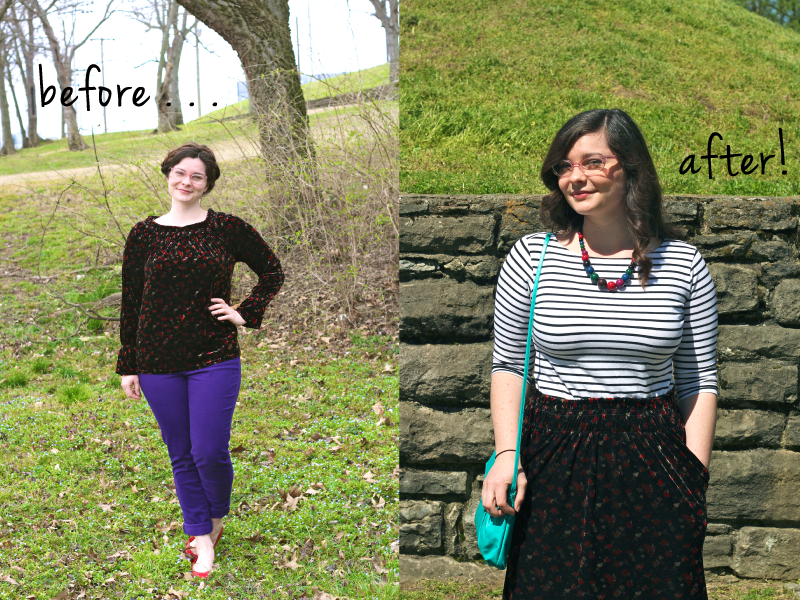
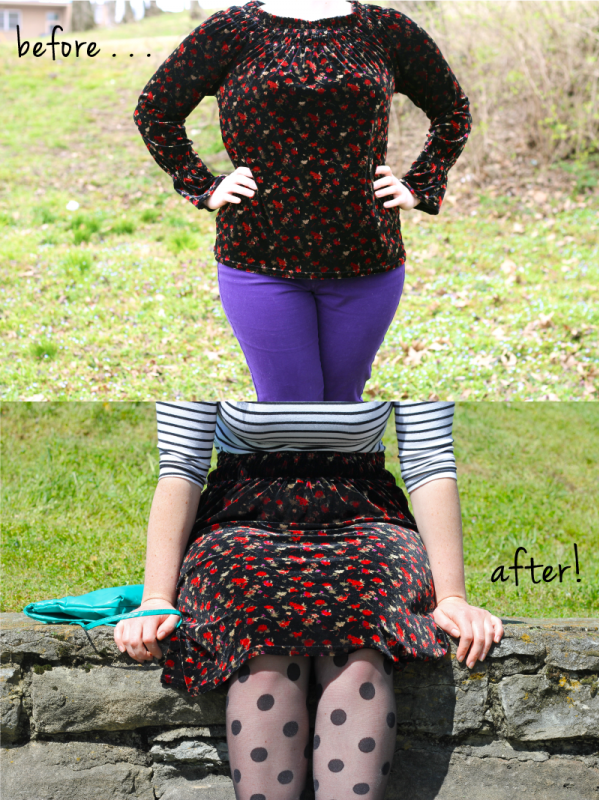
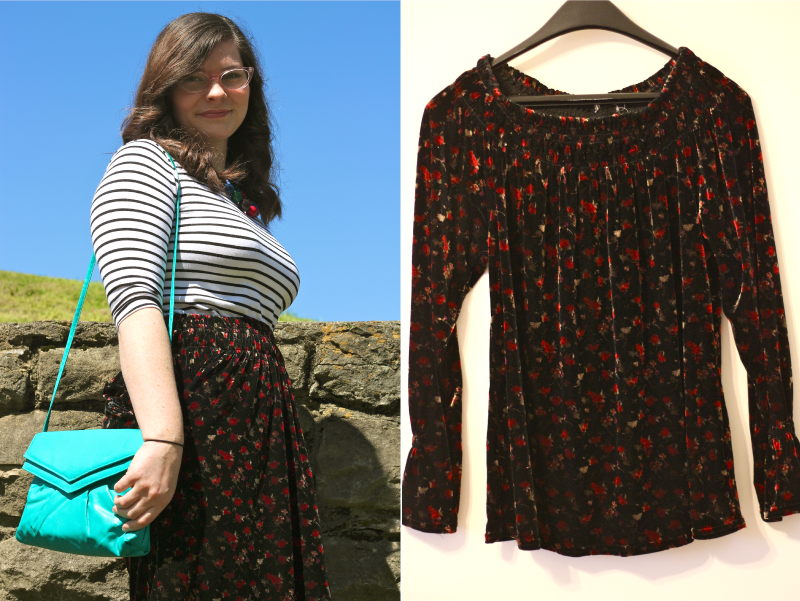
I'm not even going to try to explain why I had this shirt in my closet— I don't wear velvet, it's not flattering, it's not comfortable, I hate long sleeves, it has an elastic neckline?! . . . there's really no excuse for it. I know it's from a thrift store but I don't know how it made it home with me. So let's just skip over those sad, sad before photos and move on to the part where I transformed this ugly situation into something actually wearable!
I was purging my closet recently when I rediscovered this shirt. Given it's pitfalls, I decided it was very cruel to allow anyone else the opportunity to own it. So rather than donate it, I decided to see if I could do something— anything with it.
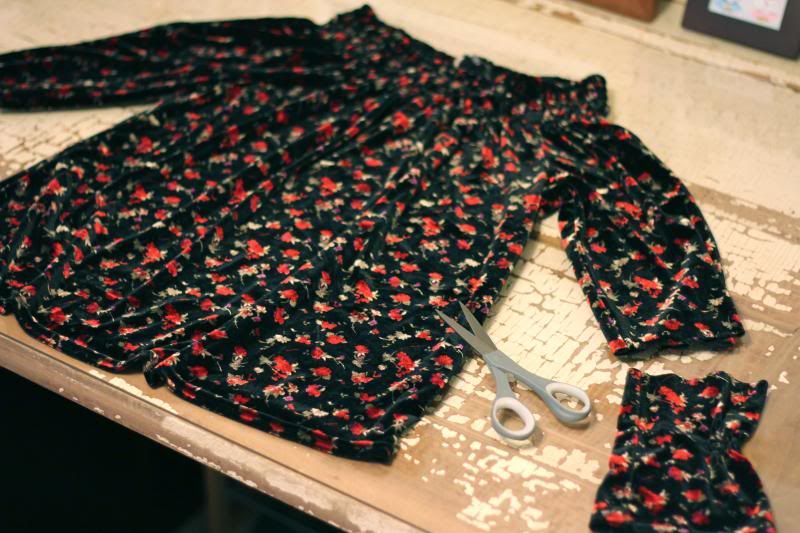
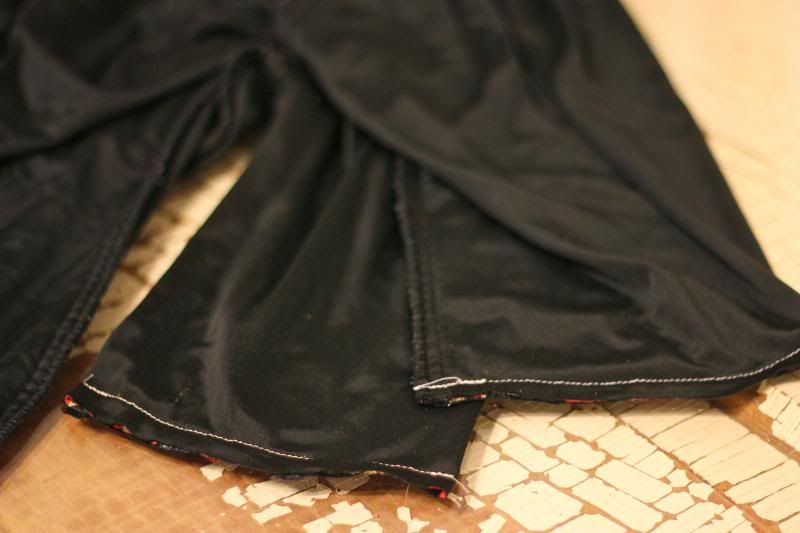
I mentioned here that I learned to use a sewing machine recently. This was the first project I attempted on my own without any help. It was literally the easiest thing ever— just two straight lines. I snipped off the weird bell sleeves, turned them inside out, and sewed them shut. So the neck of this shirt become the waist and the sleeves became the pockets. Seriously though, what's better than a skirt with comfy pockets?!
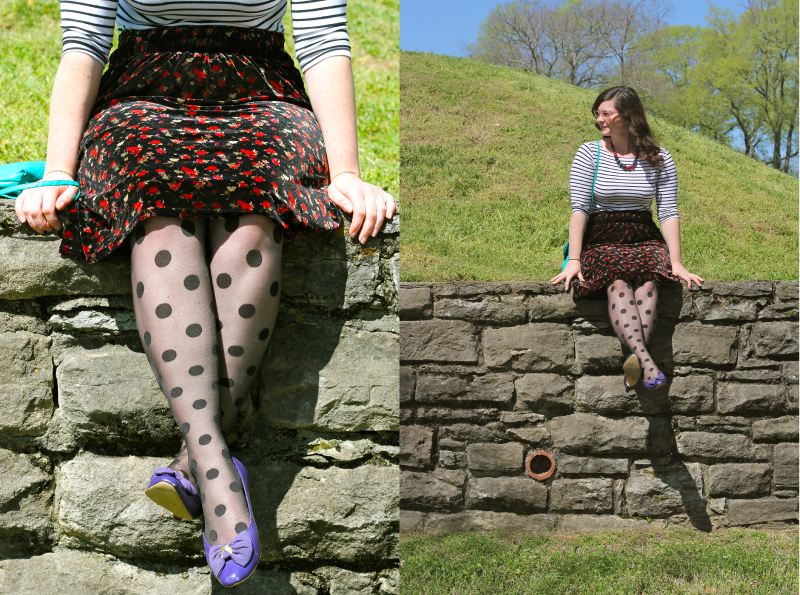
I'm still not really a velvet person but this skirt is perfect for springtime in Tennessee! Lately it's been really brisk in the morning and evenings but warm and sunny during the day. So this skirt just happens to be the perfect material to wear throughout the whole day without feeling like you jumped the gun on summer or that you're dressed too heavy for April. I can also see myself wearing it next winter with some bright red shoes around the holidays ;-)
So there ya have it! One less thing on my "to-sew" list. Next I hope to make a skirt completely from scratch and to keep on fixing items in my "to-mend" pile. Anyone else out there have a growing pile of clothes you plan on fixing or making into other things? I can't be the only one. . .

 glasses: Coastal / tights: Tabbisocks / everything else: thrifted + estate sales

Ps. How do y'all like that pattern mixing?! Stripes + floral + polka dots?! Yes, please!

Just a reminder: Google Reader is closing soon but you can Follow on Bloglovin another way to stay updated:

♥ bloglovin // facebook // twitter // tumblr // rss // email ♥

Will you be mime?

mime costume
mime costumemime costume
mime costume
mime costumemime costume
mime costume
hat, gloves: vintage / striped shirt: thrifted / fleece leggings: marshalls
shoes: from a friend / "suspenders": lace safety pinned to pants

Happy Halloween everyone! I guess my theatre background is showing today. . . This mime costume is practically made up of staple items that every person should have in their closet: striped shirt, black bottoms, black & white shoes. Add a pair of vintage gloves and a hat, trim yourself in little lace "suspenders" and voila— you've got yourself a mime costume! I kept it simple with giant cat eyes and over the top expressions. I chose fleece leggings for warmth, but you could also wear classic black skinny jeans, vintage shorts, a circle skirt— basically any black bottoms you like. I think the important thing for a mime costume is to keep it black and white. Oh, and the gloves! Love these little gloves— they were the bf's grandma's!

Did you dress up? We don't know if any tricker treaters will come tonight so we made sure to buy candy that we like. . . you know, just in case we *have* to eat it all while watching Harry Potter tonight ;-)

I Made This: Depression Glass Cake Stand

Did you know I made this cake stand for the southern dessert table I baked for? I just wanted to take a second to share how easy it is to create your own unique pieces for any occasion. I'm not gonna post a full out tutorial because there are dozens of diys out there already (and I don't wanna insult your intelligence— mine was SO simple: matching vintage glassware + my favorite industrial strength glue. You literally just flip the plate over and glue according to the directions on the adhesive!).


So there you have it. I just set mine on top of a plain white platter for the party but you could always place it right on the table or even stack several stands on top of one another. Has anyone else made a cake stand before? There are SO MANY out there— I have no idea where or when I saw my first one. The good thing is I never get tired of baking accessories so if you've made one then feel free to share it in the comments below!

Fun with Pegboards

Since we moved into our new house not a weekend's gone by without a trip or two (. . . or three!) to a home improvement store. At first it seemed like each night we spent unpacking was just another chance to lengthen Ye Ole To-Do List but after completing this project we've really been enjoying the fruits of our labor. 
Our previous apartment was tiny and made of cinder blocks so bike storage was tricky. We kept tools on she shelves of a built-in unit, spare parts under the bed, and since we couldn't drill into the walls, Nick built two bike racks to hold all our rides. They press against the ceiling and floor to hold in place and avoid any wall blemishes, like so: 
Since the ceiling here is vaulted (awesome!) we needed a new approach. A pegboard seemed like the best option for us: simple to keep organized, easy access, less furniture/shelves to buy. But of course we couldn't stand the thought of hanging a white square with holes in it on the already white walls, so we did the cool thing and spray painted it! 
Cut your pegboard down to the size you need, tape off your design, and spray away! We bought a 8x12 pegboard and cut it down in 3 pieces to fit 3 different projects. After a couple coats of paint and a few beers, voila! 
Although most of the pegboard is covered in tools and bike gear, it's nice to have some fun color involved. After we hung the board, we took the hooks off the old bike rack and simply drilled them into the wall.
 
I don't think I could be happier with how our little "dining nook" turned out. Having everything out and in one place is so convenient. And mounting the bikes upwards really takes advantage of all the wall space created by the super high ceilings. It also prevents scuffs on the walls from just leaning all our bikes in a pile. It also prevents the bike pile in the first place! 
It's so wonderful to watch each space come together and see how it transforms a rental house into an actual home that's perfect for us. If you can't be out riding, where's your favorite place to park your bike?